Are you hesitant to do some damage to your wardrobe? It’s easy. Follow the instructions and you will master DIY within 3 steps. It is important not to rush. Too fast could cause damage to your wardrobe.
Using too much force could even scratch it. So take your time, call a friend, and you could find it very helpful.
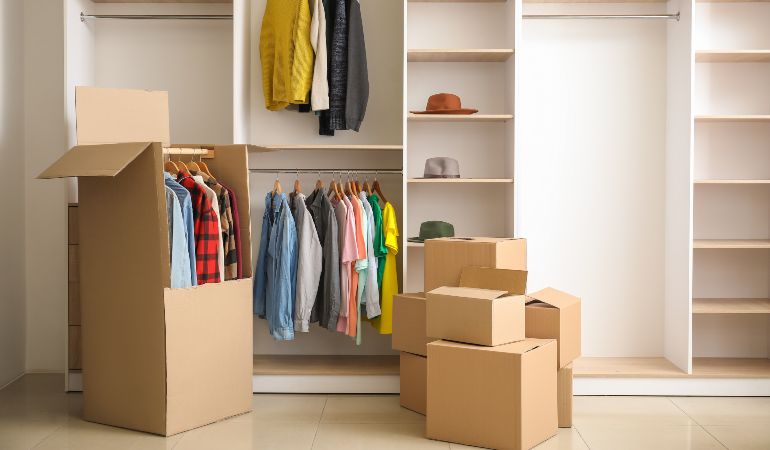
Before you can understand how to disassemble a traditional wardrobe, empty it. This is the first step. While you are packing your clothes, put them in the right boxes or bags. Then, throw away or donate what you don’t need.
If you lived in Canada you may want to know how to ship furniture across Canada? To disassemble a wardrobe, you will need to know how to use a variety of tools and tricks to ensure it doesn’t get damaged and that it is not injured. You will also find that doors won’t slide or internal shelves are not working properly if you don’t follow the instructions.
Use a pen and paper to note down your needs:
- Plastic sheets, old blankets, or cartons
- Flat screwdriver (Phillips, or flat tip).
- Electric screwdriver
- You will need to use tape, post-its, or pencil to mark the exact location of any parts that may cause problems and their orientation.
These are the steps:
Take out the doors
Place the cardboard, old newspapers, or a sheet of plastic on the floor, and then place the various wardrobe components. To avoid any scratches or dents, wrap every closet with old blankets.
Now you can begin to disassemble the doors. Keep in mind that there are many types of sliding doors with different sliding mechanisms. Next, you will need to remove the fasteners that keep the doors from moving. Finally, you will need to help the friends lift the doors out of their tracks. They will then be able to wrap themselves in blankets and lean on the cartons that you placed on the ground.
You can now stick tape or a pin-it to all pieces. This will make it easier to remove them from the trace and put them back together in the right direction.
Take off the heat. This refers to the upper portion of the cabinet.
The top of the cabinet is called the hat. It locks the pieces together and keeps them firm. To avoid any mishaps or loss of screws, first, remove the caps. Next, use an electric screwdriver to take them out.
Raises the hat of his wardrobe with a sharp blow. With a slotted screwdriver, he separates the different parts of the rear wall and lifts each one slightly. Finally, he removes the support grooves.
The back wall should be stored in an area that is not in the way of your work. The last thing you need to do is remove all screws by pulling them outwards. You must also pull upwards the internal uprights.
Transport the cabinet to where it will go
Once the wardrobe has been disassembled, you can move the pieces to the location where you will need to reassemble them. It takes patience and calm. You risk causing damage to the wardrobe if you call a friend who is not there.
You could save your time by hiring a moving company which also offers a dismantling service.
You have learned how to disassemble a wardrobe, and you are confident that you know the correct way to do it, but we recommend that you still rely on a professional furniture moving company, that can help you with shipping furniture across Canada.
Find more related articles here.